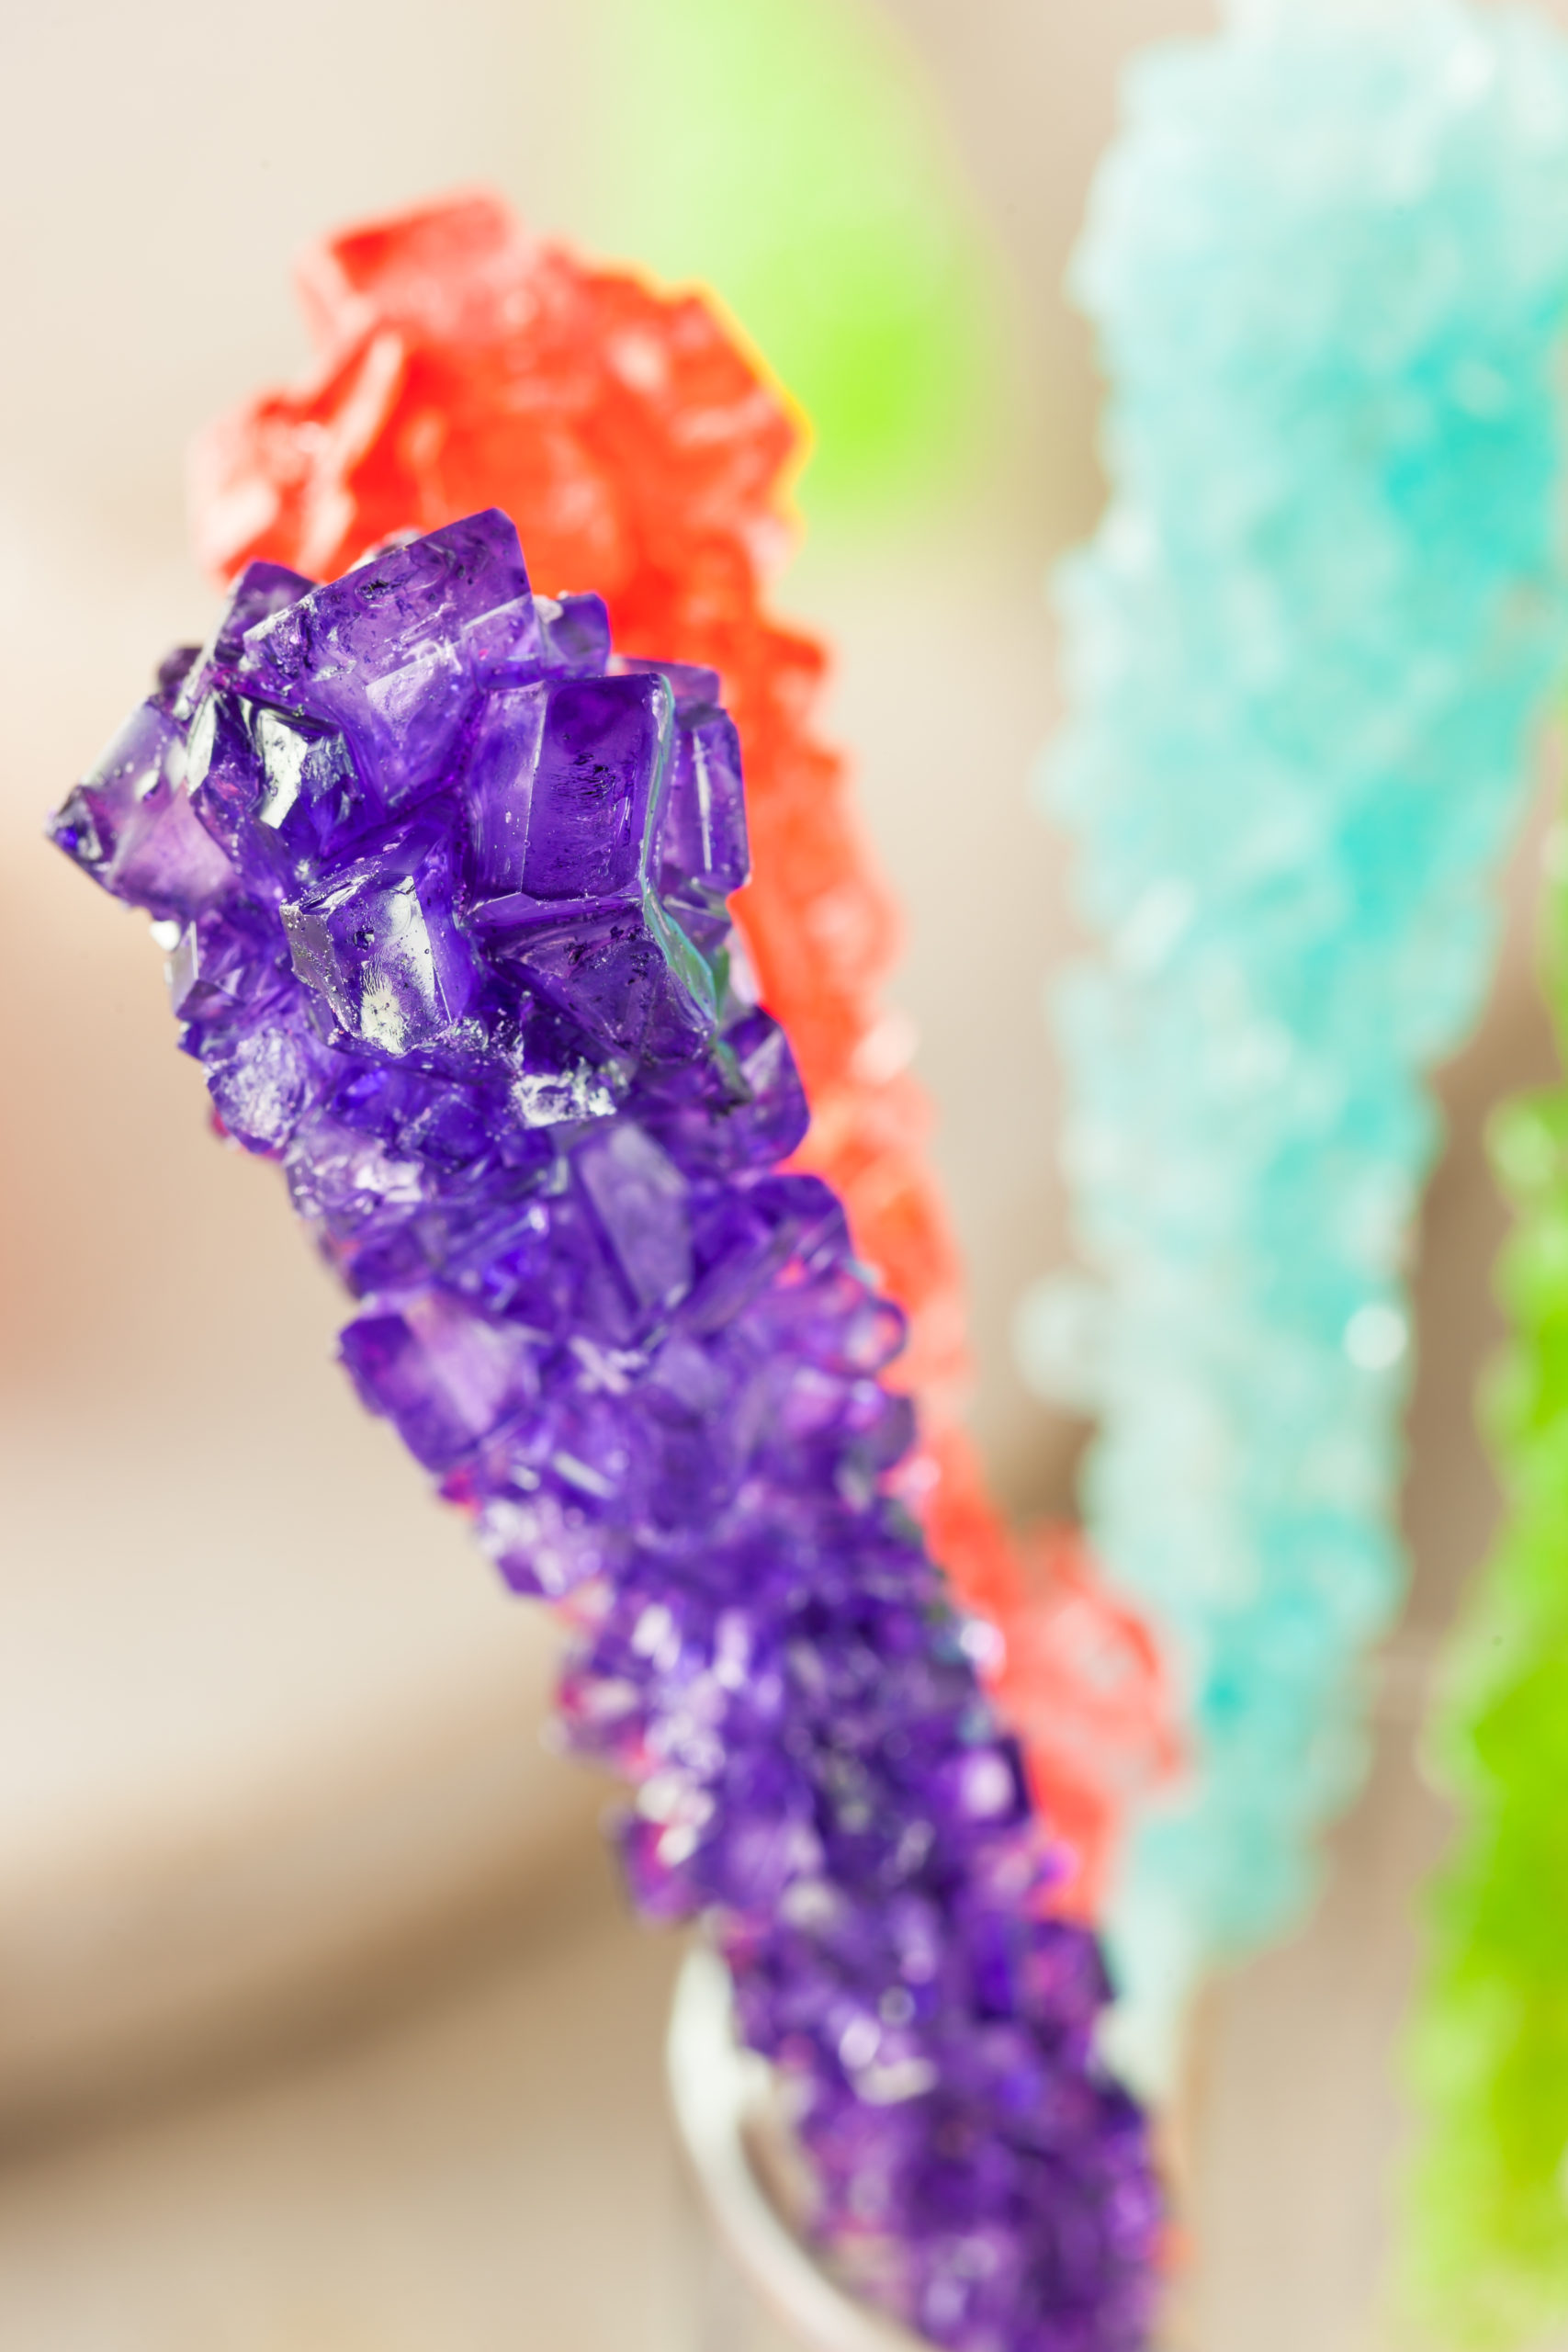
Did you know that candy-making is really just a tasty form of chemistry? Next time you bite into your favorite sweet treat, consider the time and scientific experimentation that went into creating a shelf-stable, packaged candy that not only stays fresh but tastes AMAZING.
Learn more about the science behind your favorite Halloween treats, and find out how to create candy experiments of your own at home!
In general, candy is made by dissolving sugar into water to create a solution. Granulated sugar, the most common type used in candy-making, is sucrose, a disaccharide molecule made up of glucose and fructose. When you force these two molecules to break apart, a very tasty reaction occurs: caramelization. The way that we force this reaction to occur is by adding heat into the mix when we try and dissolve sugar into water. Heating up the solution forces the sucrose molecules to break up and caramelize.
But when we do that, the sugar molecules really want to crystallize back into their solid form. Candy-makers use that crystallization process, and some strategic interference, to create the candies that we know and love.
The two basic categories of candy made this way:
- Crystalline candies like rock candy and fudge.
- Non-crystalline candies like caramels and marshmallows.
The key to mastering candy-making and creating amazing sweet treats is figuring out the concentration of sugar in your solution and the temperature that you need to heat it to. Lower concentrations of sugar are used with lower temperatures, since the more you heat your water the more sugar you can force to dissolved. Temperatures range anywhere from 223 degrees Fahrenheit to 350 degree Fahrenheit. Any higher and your sugar will burn (and taste bitter).
Itching to make your own candy at home? The most fun recipe to make is probably rock candy! Not only will you get to experiment with candy-making science, you’ll get to watch the formation of sugar crystals.
Homemade Rock Candy Experiment
Ingredients
- 2 cups water
- 6 cups granulated sugar
- Optional: 1/2 to 1 teaspoon flavoring extract or oil – feel free to get creative!
- Optional: food coloring – to give your candy a fun color
Equipment
- 4 12-ounce jars or one quart-sized jar
- Cotton thread & pencils or 4 wooden skewers
- Candy thermometer

The Experiment
- Clean your jars with hot water.
- For each jar, cut a piece of string that’s a few inches longer that the height of your jar and tape it to a pencil. Position the pencil over the mouth of the jar and wind it until the end of the string is hanging about an inch from the bottom. If you’re using skewers, use a clothespin to hang it in the jar.
- Bring 2 cups of water to a boil over medium high heat, then add one cup of sugar. Stir until it dissolves completely. Repeat this step with all 6 cups of sugar to create a supersaturated liquid. If your sugar is not dissolving, raise the heat.
- Heat the sugar solution until it reaches 230 degrees Fahrenheit on your candy thermometer. This is called the “soft ball” stage in candy-making.
- Remove the solution from heat and add flavorings (no more than 1 teaspoon).
- Carefully wet the strings or skewers in your syrup and roll them in granulated sugar. This will be the base of the sugar crystals.
- Optional: Add 6-7 drops of food coloring to your jars.
- Pour the sugar solution into your jars, leaving some room at the top.
- Position your strings or skewers in the clean jars as outlined in step 2.
- Let your jars sit undisturbed for 3-5 days. Watch your jars as candy crystals form! Make sure you don’t jiggle your jars too much. For larger candy crystals, put your jars in a dark warm room (or the back of the pantry).
- Finally! It’s time to enjoy some tasty candy!


